Sunday, November 20, 2016

Distillery part 11: the restroom, we're finished!

Since our Grand Opening is going to be next Friday, I figured I should tell everyone that we are finally finished working on the distillery! It is hard to believe that it has been a year since we were waiting for the building to be delivered the week of Thanksgiving.


Here is the restroom from start to finish, it was a lot of work, but a great outlet for my creativity and I am super excited about how it turned out.

I really wanted a Treebeard type character in there. This resin face made it really easy!


I drew all these figures and then made copies to cut out and decoupage onto the wall. it was a lot easier than trying to draw right on the wall.

I've had this mirror forever, it had so much paint on it that some of the detail was filled in! It took me as long to strip this as it did to paint the bathroom!

I sanded the back of the mirror and put this fairy behind the glass.


We got this slab of wood from our friend Neil a few years ago not really knowing what we would do with it. It is the perfect base for our sink. It was a bit of a challenge to make it compliant with the ADA handicapped specifications, but we were determined!


Making the forest floor.

The mirror and sink are installed and decked out! The woodland sprite watches over the paper towel holder.


The forest is complete! Fairy lights in the trees are the finishing touch.


We now have a website (www.dragonfyredistillery.com) and  Facebook page for the distillery, so check there for more frequent updates on what is going on there. I don't know how often I will be posting anymore, I don't have a lot of extra time since I am now doing the bookkeeping for 2 businesses, making stuff to sell in the gift shop up there, running Fancifuls and helping Vince at the distillery, and I have to do laundry sometimes!

Monday, October 10, 2016

Destillery part 10: The Tasting Room is (mostly) Done!


A lot of progress has been made! The tasting room is done enough to open with. Of course I have some other things I would like to do- paint a mural on the wall behind the check out counter, and paint some faux bricks and crumbling plaster on some parts of the walls. That will have to wait, because I have to paint the road sign and a bunch of other signs. We are sending out our NY State permit application tomorrow, so we need to be ready to open as soon as that is approved. 

So I think this will be ok for now!

This is the start of the tasting bar, they are 2 kitchen cabinets that we used in our kitchen temporarily while we built the house.


These are rough cut timbers left over from when my mom and dad built their house back in the 80's. I'm so glad we never get rid of anything!! We planed and sanded them a little so they weren't quite so rough. We don't want anyone to get splinters!

Vince connected the 2 cabinets and put a piece of plywood on top. The 2 upright beams are attached to the ends of the bar from the inside of the cabinets with lag bolts.


That top beam was too heavy to lift all at once, so we used our handy, dandy portable scaffold to get it up on top. Then Vince drilled holes in the top and screwed in 2 ten inch lag bolts in each end.


These little corner braces are just for looks.


Getting ready to put the side braces on...I don't have any pictures between this step and the finished top, we put faux rafters on the top that come out from the wall and rest on the beam.

Here you can see the ends of the rafters hanging over the front. I couldn't wait to see what the patio lights we bought would look like on there, and then I had to put the ivy on there to cover the wire from the light string.

Adding wainscot and trim to the front.


Checkout counter, Vince just built the base out of plywood.

Time to do the floor!


Yes, I did that whole floor with a sponge!


Vince couldn't wait to see what it would look like with the tape off! Pretty cool! Just like a castle floor! Well, sort of! I went around with a brush to soften up the lines a little.
Vince's dad made the bar top and the checkout counter top out of walnut.

This is what it looks like all finished! Ready to fill those shelves with some shine!!

I thought I had posted this a long time ago! We have since gotten our NY State permit, which took 2 months, so it has been a while! We are waiting on our label approval from the State before we get those printed up. Once we have the ok on that, we are really ready to go! We've been posting our progress on Facebook also, so check there for updates on when we will be opening.

Monday, August 8, 2016

Whimsies


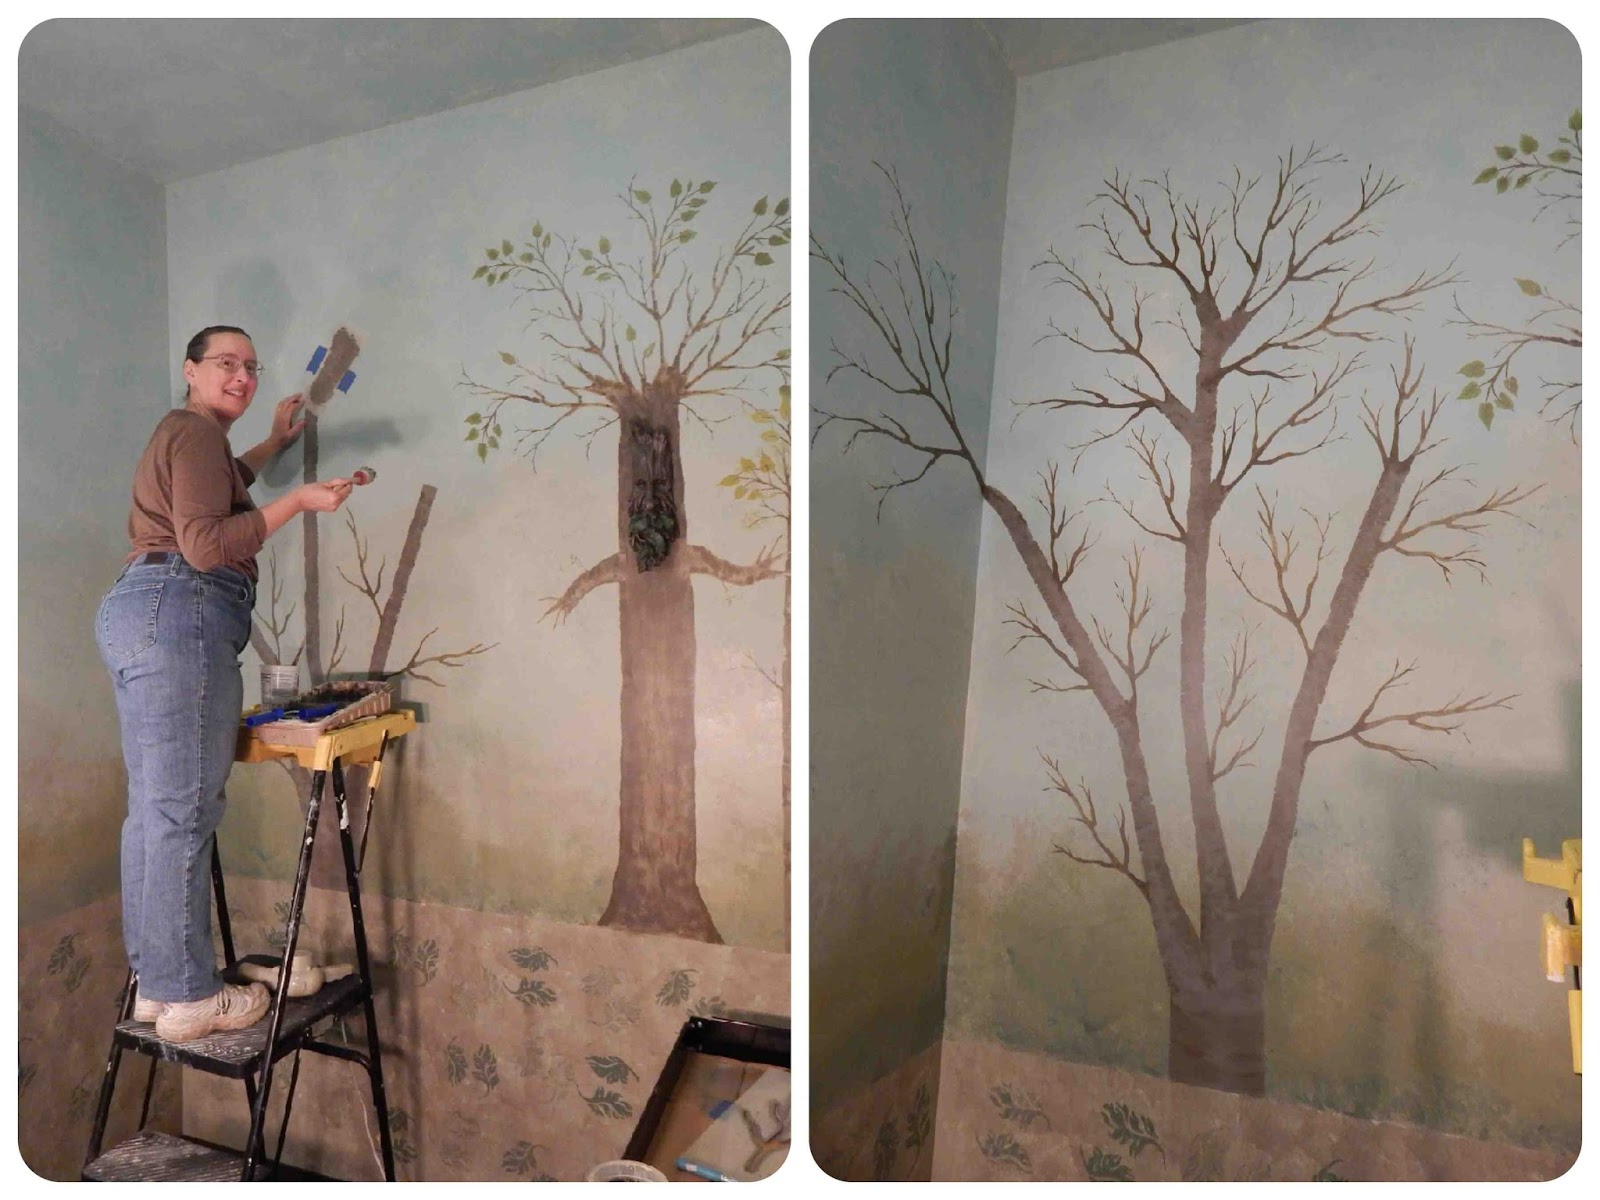
This is for all my crafty followers, I'm sorry I haven't done any posts about my other endeavors!
I made all these things last summer to sell at The Left Bank in Owego, NY. I had every intention of posting these sooner, but once we decided to do the Distillery, I just put all my energy into that. Designing logos and labels and buildings and decorating became my craft projects!
So I hope you enjoy looking at my whimsical creations as much as I enjoyed making them. I hope to get back to doing those types of things once we get some normalcy back in our lives! I hope we actually get some normalcy back eventually.....


It all starts with an old teacup or some sort of container....glue the teacup to the saucer.


Fill it with foam and cover it with some moss. I used my glue gun for that.


Then I picked out my fairy and a pair of wings.


This is the beginning...


She had to have a French poodle fairy!


so true!!  


                I don't have time to make stuff to take to The Left Bank anymore, so I went down and picked up the few things I had left down there and will put them in the tasting room/gift shop up at the distillery. I hope to be able to make things to sell up there!


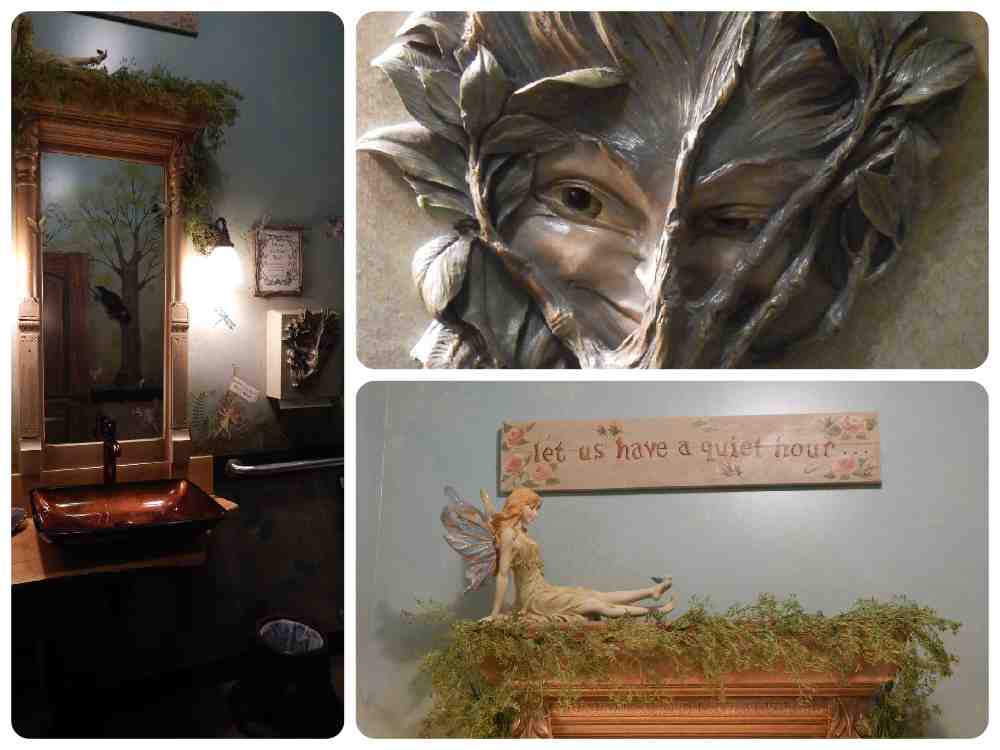
I don't think I will ever get tired of these little fairies! They just make me smile!

Wednesday, July 27, 2016

Distillery Landscaping part 1: Hobbit Door

We wanted to get some of the landscaping done before we got too busy with the actual running of the business.
 I don't think I mentioned that we we were approved for our federal permit! Yea! Now we have to get our NY State license, but we need our certificate of occupancy before we can submit that application. The code officer came out last week and we passed our final inspection, so we should have the certificate in a week or so. He's letting us have up to 40 people in there!
So, anyway, we had a beautiful day, and it wasn't 90 degrees, so we decided to put in the door for our resident Hobbit.

We took the spool that the electric wire came on and screwed them together. Then we took some leftover floor boards from when we did the house and screwed those on, and Vince cut around those to make a circle.


I painted it blue and did some faux texture along the edge of the boards. Then I drew a hinge and traced and painted those on. After it was painted, we nailed a piece of flashing around the edge to help protect it, and cut some cedar shingles to form a roof and trim edge all around it. I didn't take any pictures of that, I get all wrapped up in doing these projects that I forget to document them sometimes!


Vince had cut out part of the bank right after Daryl got done with the septic system, so we had a place to start. Vince dug more out with a shovel and stone rake, then we set the door in there, and put a galvanized window well over the top so we could form a roof. Then Vince stacked stones up the sides to make it look more substantial.


We put a little walkway and some steps out front. I'll put some plants in there later in the year when it isn't so darn hot out and maybe we'll get some rain then!


This is what it looks from the other side of the driveway.


This is what it looks like from down by the pond. Pretty cool!! Vince says he would live there!


We wanted to make the whole experience of coming to the distillery just that, an experience. 
 I think we have a good start on that!